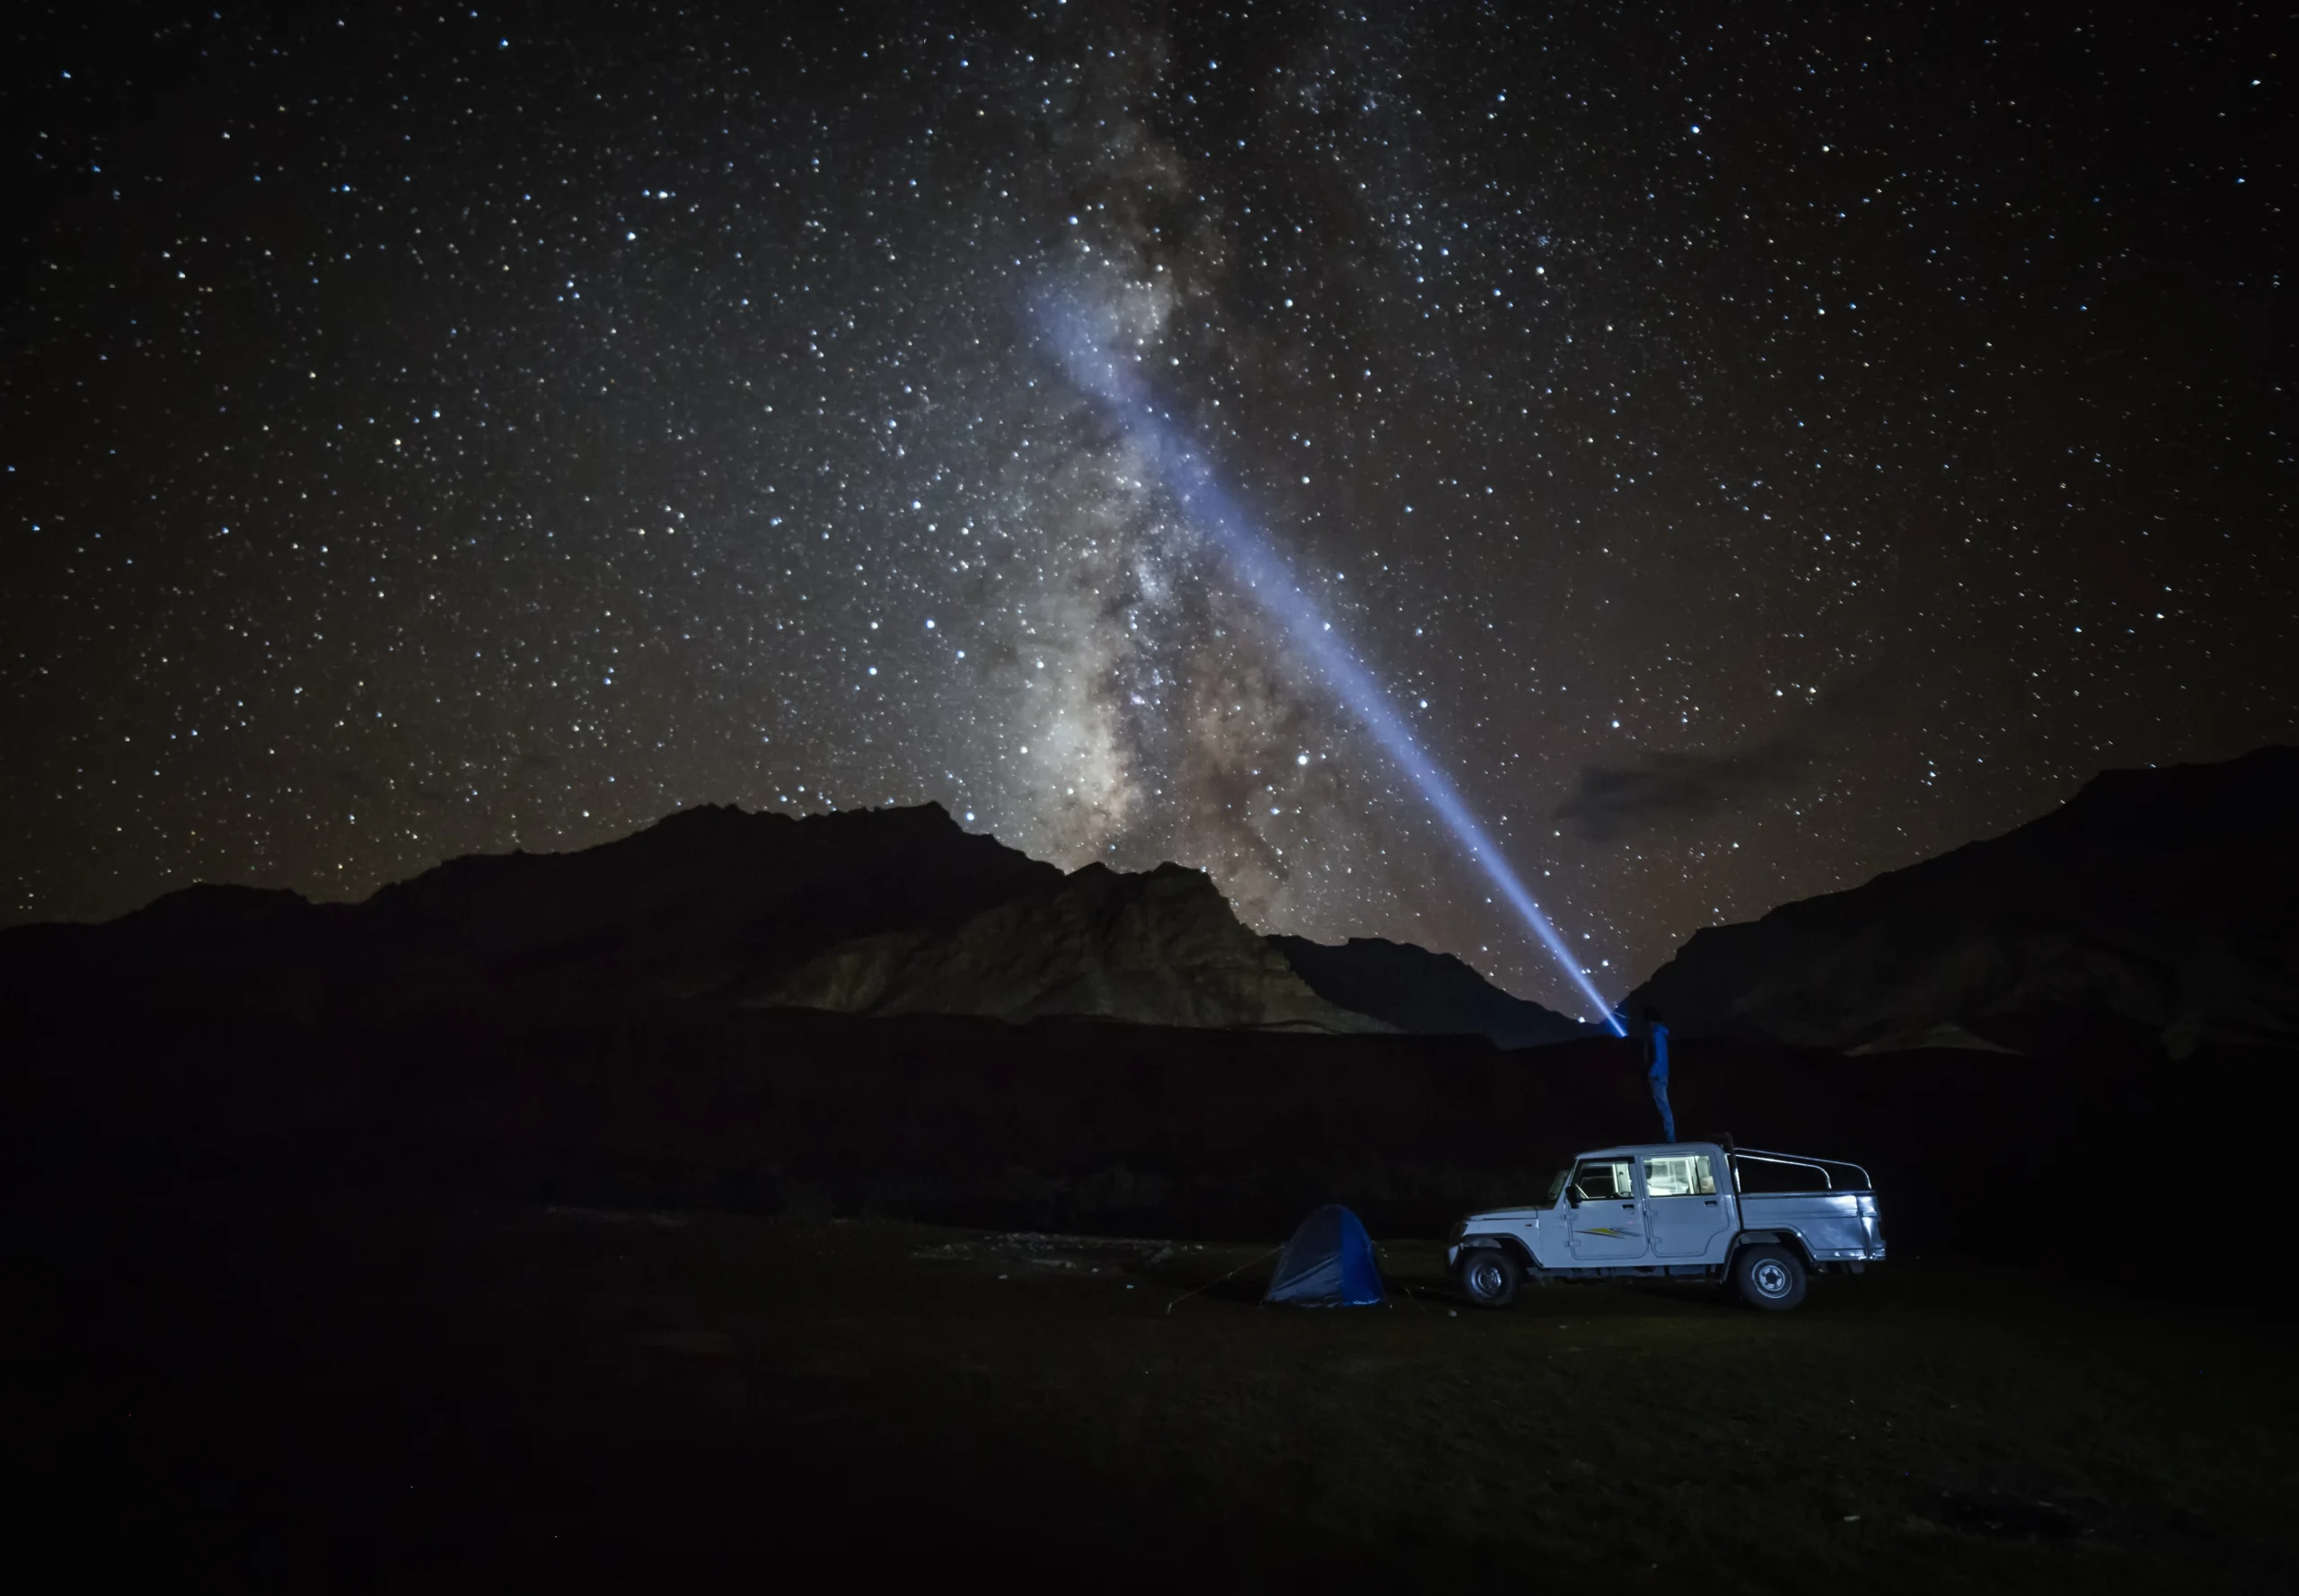
Milky Way photography India feels magical in a way that still catches me off guard. The first time I watched the sky open over a quiet stretch outside Delhi, after the city noise finally softened, I understood why so many of us chase stars the way we chase monsoon chai. We are surrounded by light, traffic, deadlines, and the odd 11 pm power cut, yet a dark sky in India can still feel beautifully ancient. If you have ever stood on a rooftop in NCR and tried to find a single star through the haze, you already know the hunger for a true night sky.
Milky Way photography India is not just about pointing a camera upward. It is about timing, moon phase, altitude, patience, and choosing places where India still protects darkness. Moreover, it is about knowing that Spiti and Ladakh are not casual weekend shoots. They reward you, but they can also punish careless planning. In this guide, I am pairing real Indian dark-sky destinations with settings that actually work, month-by-month shooting windows, and a safety protocol I wish every traveller had before a midnight climb. I am writing this as someone who has learned the hard way that a good sky shot begins long before the shutter clicks.
If you love stories, travel, and photography, you will also enjoy this Spiti Valley photographer journey. Milky Way photography India can be deeply personal, and I hope this feels like a friend walking you through it.
Milky Way photography India is often underestimated because people picture only crowded cities and glowing highways. However, India still has pockets of true darkness where the galactic core rises cleanly above ridges, dunes, and salt flats. What makes these places special is not only the lack of artificial light. It is also the dry air in high mountains, the wide horizons in western deserts, and the seasonal clarity after the monsoon has gone. For astrophotographers, that combination matters more than fancy gear.
Why Darkness Matters More Than Distance
Milky Way photography India depends on dark-sky quality, not just remoteness. A place can be far from a metro and still be ruined by reflective roads, resort lighting, or festival glow. I always check sky maps, but I also trust my eyes once I arrive. If the horizon looks silver before moonrise, the location is not ideal. Light pollution remains the biggest enemy of clean star detail, and that is true whether you are in India, Namibia, or Chile. You can read more about the science of it at this light pollution overview.
India’s Edge Is Diversity
Milky Way photography India wins because one country gives you mountains, deserts, salt pans, forests, and coastlines. That diversity means you can shoot in different seasons without leaving India. North India gives altitude and crisp air. Gujarat gives mirror-flat, low-glow terrain. Meanwhile, the Himalayas create dramatic foregrounds that make the sky feel huge. That is why India can rival famous international astro destinations, especially if you are patient about timing.
Milky Way Season India: Full Timing Guide
Milky Way photography India works best when you plan around the galactic core, moon phase, and local weather. In India, the core is usually most visible from late February to early October, with the strongest southern sky displays in summer. However, the best shooting month also depends on where you are standing. In high-altitude regions, clear nights can arrive earlier in the season, while deserts may stay usable longer. If you are asking what is the best time to see the Milky Way in India, the honest answer is that there is no single date. There is a season, and then there is the moon.
Month-By-Month Shooting Calendar
Milky Way photography India is easiest from March to June for the core rising earlier in the night, especially in cold, dry regions. July and August can still work in select high-altitude pockets, but monsoon clouds make many plains locations frustrating. September is often wonderful because skies begin clearing while the core is still strong. October can give lovely early-night arch shots in some regions, though core visibility drops later. November to February is better for star trails and winter constellations than classic Milky Way core frames. This is where planning beats luck, and where moon calendars save wasted drives.
Moon, Season, And Local Weather
Milky Way photography India gets much easier on a new moon or thin crescent. I avoid shooting deep-sky frames near a bright moon unless I want moonlit landscapes. A cloudless forecast is not enough either. In the hills, wind can bring fast cloud bands, and in the desert, humidity can create soft haze. I check weather, moon age, and moonrise time together. That habit has saved many late-night outings from becoming expensive tea breaks.
Spiti Valley: India’s Astro Capital
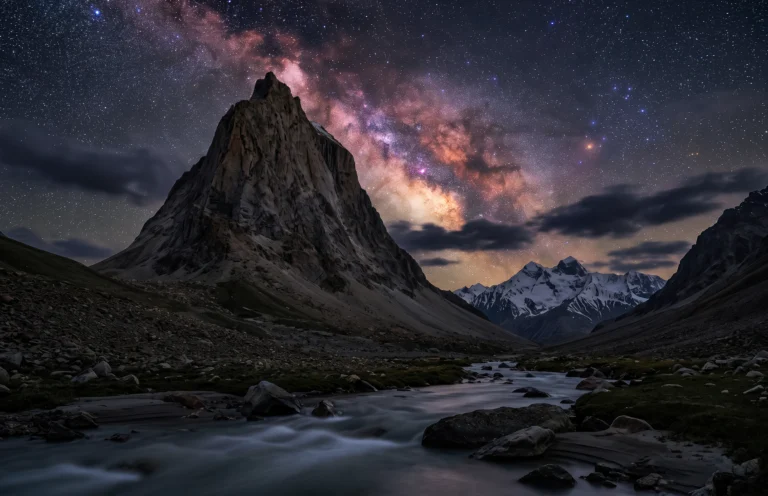
Milky Way photography India reaches a special level in Spiti Valley. The first time I saw the night sky there, I remember thinking that Delhi had never taught me what darkness really was. Even the air feels different. Thin, dry, and clean, it lets stars hold their shape longer. The valley is not easy, though, and that is part of its power. If you want a sky that feels almost unreal, Spiti is where many Indian photographers begin to understand the scale of the universe.
Best Spiti Spots For Clean Frames
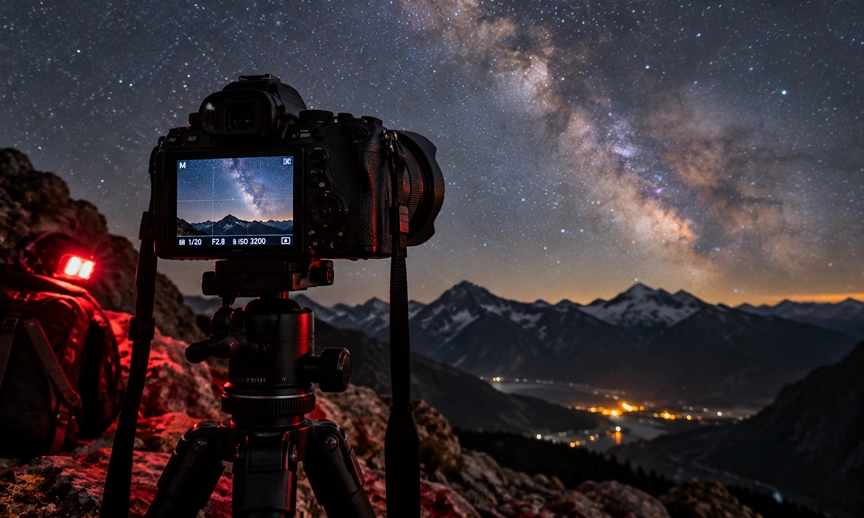
Milky Way photography India in Spiti works well around Kaza, Langza, Hikkim, Kibber, and the open stretches near Dhankar. I like locations with a strong foreground, such as prayer flags, mud homes, or cliff lines. The sky is brilliant, but the frame becomes memorable only when the land tells its own story. For Spiti, keep your ISO moderate and your shutter controlled because the air is crisp enough to reveal detail without going too noisy too fast. I often start around 15 to 20 seconds, f/2.8, and ISO 3200, then adjust after checking the histogram.
High-Altitude Safety Protocol
Milky Way photography India in Spiti needs discipline. Acclimatize for at least 24 to 48 hours before any midnight shoot. Drink water consistently, avoid heavy alcohol, and never assume a short walk uphill is harmless at 4,000 metres. I carry ORS, a pulse oximeter, warm layers, and a fully charged phone in an inner pocket. If you feel headache, nausea, dizziness, or breathlessness, stop shooting immediately. The mountain will still be there tomorrow, and your image is never worth a serious health scare. For more on altitude care, see this mountain sickness guide.
Ladakh And Nubra Valley Night Skies
Milky Way photography India in Ladakh feels bigger, colder, and sharper than almost anywhere else in the country. I have had nights there when my fingers hurt more than my pride, and still I would go back in a second. Ladakh gives you altitude, dry air, and broad empty land that makes the sky seem carved out of black stone. Nubra Valley adds its own magic, because dunes and monasteries create unusual foregrounds that most astro locations cannot match. If Spiti is raw poetry, Ladakh is a clean, severe sonnet.
Where Ladakh Shines Most
Milky Way photography India in Ladakh is strongest around Nubra, Hunder, Turtuk, and the quieter open zones away from major roads. Pangong can be beautiful too, but wind and logistics are less forgiving. In these regions, a tripod with solid footing matters as much as camera quality. The dry atmosphere gives you crisp stars, but your lens can fog if you move from a warm room to a bitter night too quickly. Keep your kit inside a bag until you are ready to shoot. That small habit saves a lot of frustration.
Settings For Cold, Clear Nights
Milky Way photography India in Ladakh usually rewards a slightly faster workflow. I begin with 14 to 18 seconds, f/2.8, and ISO 2500 to 4000 depending on moonlight and sky brightness. If the foreground is too dark, I take a second exposure for blending rather than pushing ISO too far. This is where a remote shutter helps, because touching the camera with numb fingers is not graceful. Meanwhile, a headlamp with red light preserves your night vision, which matters more than most beginners realise.
Rann Of Kutch: Desert Skies, Zero Glow
Milky Way photography India is not only a mountain story. The Rann of Kutch gives you one of the most striking low-light landscapes in the country, especially when the white salt flats stretch under a clean sky. It feels almost theatrical. The ground reflects whatever faint light exists, while the horizon remains surprisingly open. That makes the Rann valuable for shooters who want minimal light pollution without climbing to extreme altitude. I think of it as India’s desert observatory, even when I am standing there in dusty shoes and a scarf pulled over my face.
Why The Rann Works So Well
Milky Way photography India benefits from the Rann because the area has vast open space and very little urban spill. You do have to be careful during tourist season, because temporary lighting and people can change the darkness around popular areas. But with planning, you can find quiet stretches away from camps. The white surface also gives a subtle foreground glow, which can make the sky appear even more dramatic. Use lower ISO than you might in the mountains if the salt flats are reflecting enough ambient light.
Practical Shooting Tips
Milky Way photography India at the Rann works best with dust protection, spare batteries, and a careful walk path. Salt is not friendly to gear, and wind can blow fine grit into everything. I keep a microfiber cloth in a sealed pouch and avoid changing lenses in the open. If you are shooting a panorama, keep your exposure consistent across frames. If you want a lighter travel read before planning, you can compare it with National Geographic travel features. The Rann is beautiful, but it demands respect.
Essential Gear For Milky Way Shoots
Milky Way photography India does not require the most expensive setup, but it does require sensible gear. I have seen beginners spend money on one fancy lens while forgetting a sturdy tripod, extra batteries, or even a way to protect their hands in cold weather. That is backward. A reliable camera, a fast wide lens, and a stable support system matter more than brand drama. In Indian conditions, I also recommend a small torch, lens hood, cleaning cloth, and a power bank.
What You Actually Need
Milky Way photography India can begin with a basic DSLR or mirrorless body, a lens around 14 to 35 mm, and an aperture of f/2.8 or wider if possible. A star tracker is helpful, but not essential for your first good frame. A tripod with a hook for weight is important in windy regions like Ladakh or the Rann. If you shoot on a crop sensor, remember that your field of view is tighter, so choose a wider lens if you can. Budget gear can still make lovely images when the sky is truly dark.
My Delhi Packing Habit
Milky Way photography India has taught me to pack like a cautious Delhi traveller, not like a dreamer. In my bag, I keep a rain cover even in dry seasons, because weather in the hills can change quickly. I also carry gloves that let me press buttons without freezing my fingers. In NCR, we often focus on getting away from traffic. However, once you are out in remote India, the bigger problem is usually not traffic but cold, fatigue, and a dead battery at 1 am. Plan for all three.
Camera Settings That Actually Work
Milky Way photography India becomes much less mysterious once you stop chasing random settings from the internet and start reading your own scene. The core basics are simple. Open the aperture wide, keep the shutter short enough to avoid star trails, and raise ISO only as needed. Then refine from there. In Indian skies, the exact numbers shift because altitude, haze, and moonlight change the brightness of the frame. There is no single perfect recipe.
Starting Settings By Location
Milky Way photography India in Spiti and Ladakh often starts around 14 to 20 seconds, f/2.8, ISO 2500 to 4000. In the Rann of Kutch, because the ground can reflect more light, I sometimes drop to ISO 1600 to 2500 and test. If you are shooting from a darker patch with a basic DSLR, begin at 20 seconds, f/3.5, ISO 3200 and review carefully. The key is not copying numbers blindly. It is checking whether the histogram is safely away from the left edge without blowing the sky.
Common Mistakes To Avoid
Milky Way photography India often fails because people expose too long and turn stars into tiny streaks. Others push ISO too high and create ugly noise that later looks plastic in editing. I also see many beginners forget manual focus. Use live view, zoom in on a bright star, and focus carefully before touching anything else. If you want a simple field rule, take one frame, review, then adjust one variable at a time. That habit improves your results faster than any gadget upgrade. A basic DSLR can absolutely do this well, if you respect the process.
Post-Processing Your Milky Way Shots
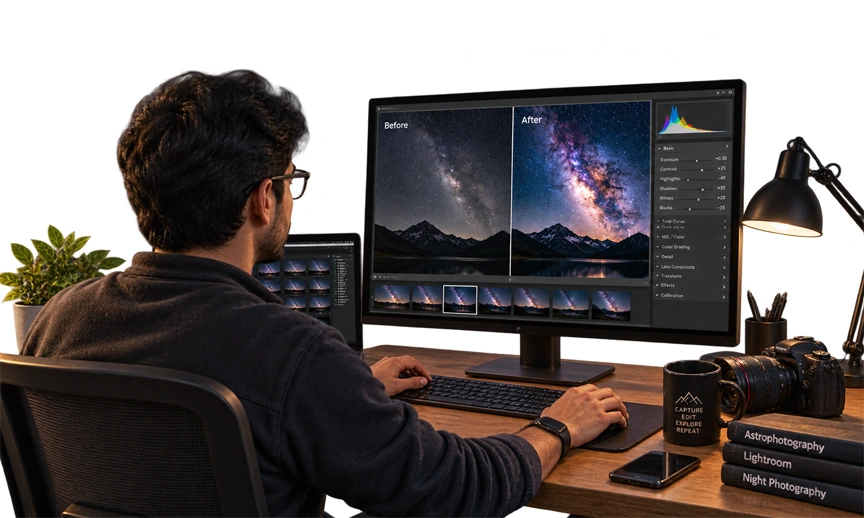
Milky Way photography India does not end when the shutter closes. The edit is where you recover the feeling of the night without turning it into neon fiction. I prefer a gentle approach. Bring back contrast, keep star colour natural, and avoid making the sky so blue that it starts looking artificial. Real night skies have depth, but they do not need to look like a movie poster. Good editing should feel invisible.
Natural Editing Workflow
Milky Way photography India usually needs basic steps first: noise reduction, white balance correction, exposure balance, and a slight contrast lift. I often use one pass for the sky and one for the foreground if the scene needs blending. Keep sharpening modest, because too much makes stars look crunchy. If the colours in the Milky Way start looking electric, you have gone too far. The best edit usually respects the darkness around the stars rather than trying to erase it.
How To Keep It Honest
Milky Way photography India looks more believable when you preserve the moonless mood. That means not over-brightening the landscape just because you can. If you want a more polished result, use local adjustments carefully instead of global sliders everywhere. The viewer should feel like they were there with you, not trapped inside a software demo. I keep asking myself one question while editing: would this still feel true if someone stood next to me that night? That question keeps me honest.
Night Photography Safety In Remote India
Milky Way photography India is thrilling, but remote night shoots demand serious safety habits. I am from Delhi, so I know how quickly we can normalise late hours and quick plans. In the mountains or deserts, that mindset can become dangerous. Tell someone exactly where you are going, carry offline maps, and do not wander away from the car without a plan. If the road is unfamiliar, stop shooting early enough to drive back before exhaustion sets in.
Solo Shooting Rules
Milky Way photography India is safest when you do not disappear into the darkness alone for long. Keep your phone charged, share your live location, and carry a whistle or small alarm if you are completely solo. I also recommend keeping your car key in one fixed pocket and your headlamp on a lanyard. Never walk toward unknown noises or leave your gear unattended. The goal is a great photograph, not a dramatic story about a bad night.
Health, Weather, And Emergency Sense
Milky Way photography India in high-altitude places also means watching your body. If you feel breathless, confused, or unusually weak, stop immediately. For more practical context, read this guide on mountain sickness in India. I also keep simple snacks, warm tea, and layers ready because fatigue makes mistakes happen. Never assume a night shoot is just a photography task. It is a travel decision, a health decision, and a safety decision all at once. Respect that, and the experience becomes far richer.
Frequently Asked Questions
What Is The Best Time To See The Milky Way In India?
Milky Way photography India is usually best from late February to early October, with the strongest core visibility in summer and early autumn. The exact night depends on moon phase, weather, and location. For most Indian photographers, a new moon week in March, April, May, September, or early October gives the best balance of darkness and visibility.
Which Indian Location Has The Darkest Sky For Photography?
Milky Way photography India often points to Spiti, Ladakh, and some parts of the Rann of Kutch as top dark-sky choices. Among these, high-altitude Himalayan sites can feel darkest because the air is dry and the skies are clearer. However, the darkest sky for you depends on local light spill, clouds, and season, not just geography alone.
What Camera Settings Do I Need For Milky Way Photography?
Milky Way photography India usually starts with manual mode, wide aperture, 14 to 20 seconds shutter, and ISO 2500 to 4000. Use the widest lens you have, focus manually on a bright star, and adjust based on your histogram. If the sky is too bright, lower ISO. If stars trail, shorten shutter speed.
Can I Photograph The Milky Way With A Basic DSLR?
Milky Way photography India absolutely works with a basic DSLR if you have a sturdy tripod and a reasonably wide lens. You do not need the newest camera to begin. What matters more is manual control, stable support, and a dark sky. A crop-sensor DSLR can still produce lovely results if you practice focus and exposure carefully.
Is Spiti Valley Or Ladakh Better For Astrophotography?
Milky Way photography India gives you excellent results in both Spiti Valley and Ladakh. Spiti often feels slightly easier for first-time astro travellers because the valley has many accessible dark spots and dramatic foregrounds. Ladakh can be even cleaner and more intense, but the cold, distance, and logistics are tougher. If you want ease, choose Spiti. If you want scale, choose Ladakh.
How Do I Plan Around The Moon Phase For Night Photography?
Milky Way photography India is best planned around a new moon or a thin crescent. Check moonrise and moonset times, not just moon phase, because a bright moon rising late can still affect your shot. I plan the shoot for the darkest hours of the night and keep moonlit landscapes separate from core-heavy frames. This saves time and disappointment.
What Is The Safest Way To Shoot Milky Way Photos Alone At Night?
Milky Way photography India is safest when you tell someone your exact location, share live GPS, and avoid remote wandering after dark. Keep your car close, carry warm layers, and use a headlamp with red light. If you feel uneasy, cut the session short. A safe return matters more than squeezing out one more frame. I also recommend reading travel safety ideas from National Geographic.
How Do I Edit Milky Way Photos Without Making Them Look Fake?
Milky Way photography India looks best when editing stays subtle. Correct white balance, reduce noise, lift contrast gently, and keep saturation under control. Do not brighten the sky so much that it loses its natural darkness. If the stars start looking pasted in, step back. Honest astro editing should help the image breathe, not turn it into a poster.
Do I Need A Star Tracker For Milky Way Photography In India?
Milky Way photography India does not require a star tracker for beginners. You can get strong results with a tripod and a wide lens. A tracker becomes useful when you want longer exposures, cleaner detail, or panoramic work. It is a helpful upgrade, but not the first thing I would buy. Learn the night sky first, then add equipment later.
What Altitude Sickness Precautions Apply To Spiti And Ladakh Night Shoots?
Milky Way photography India at high altitude needs acclimatization, hydration, and restraint. Spend a day or two adjusting before any long night session, avoid overexertion, and carry ORS and warm layers. Stop immediately if you develop headache, nausea, dizziness, or unusual breathlessness. Your camera can wait. Your body cannot. For context, see Mayo Clinic for general health guidance.
Conclusion
Milky Way photography India has a way of changing how you look at your own country. I feel it every time I leave Delhi’s noise behind and stand under a darker, slower sky. India is not short of beauty. It is only that we often forget to look up with patience. Spiti gives you drama, Ladakh gives you scale, and the Rann gives you silence. Each place teaches a different lesson, and each one rewards preparation more than luck.
What I love most is that this kind of travel feels both technical and emotional. You are tracking moonrise, checking batteries, and thinking about exposure, but you are also standing in a very human moment of wonder. That mix is rare. If you are planning your first serious astro trip, start small, be safe, and build confidence one night at a time. If you want more India travel inspiration, browse this destinations guide and then choose the sky that calls you most.
Milky Way photography India is not about chasing perfection. It is about earning a little darkness, a little patience, and a memory that stays bright long after the stars fade. Milky Way photography India