Bharatpur bird photography rewards a different pace from a sightseeing trip. A bird may stand still for several minutes, then turn into good light for a second. A patch of water that looks empty through the camera can become useful once you stop looking only for a large, close subject.
For a first visit to Keoladeo National Park in Rajasthan, the useful questions are practical: when to go, how to move around, what your existing camera can manage, and how to photograph birds without disturbing them. This winter guide brings those decisions together using official visitor information and photography guidance checked in November 2026. The credited photographs are archival examples, not reports of current sightings.
Bharatpur bird photography: the short planning answer
Plan a winter visit, stay locally the previous night if you want an unhurried start, and leave time to work slowly on the permitted paths. Take a camera you understand, a manageable telephoto lens if you have one, and binoculars if available. Check current gate arrangements, transport charges, weather and visibility before setting out.
For your first Bharatpur bird photography session, aim for a few different photographs: a bird in its habitat, a feeding or resting bird, and perhaps a flight sequence if conditions allow. That is a more workable plan than trying to collect every species or copy a dramatic picture seen online.
Why Keoladeo is worth photographing in winter
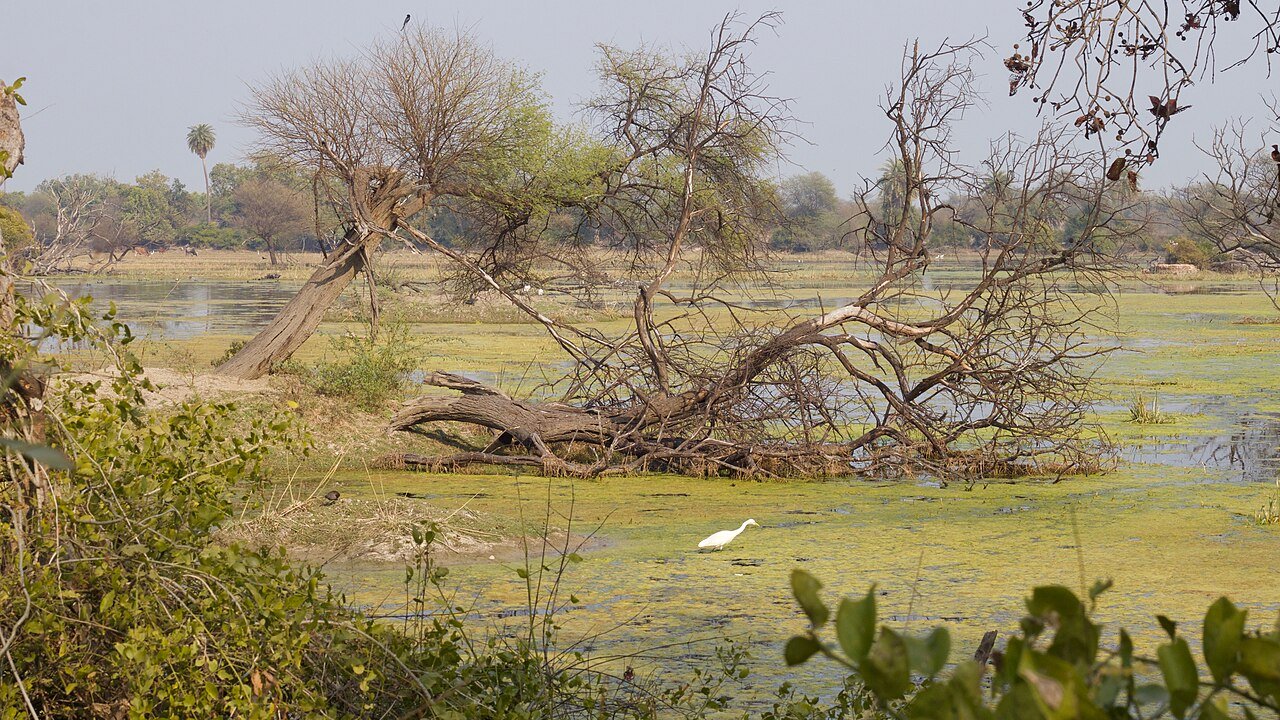
Keoladeo, often called Bharatpur Bird Sanctuary, is a managed wetland near Bharatpur town. UNESCO describes its importance for wintering migratory waterbirds and resident breeding birds. Its mix of water, grassland and woodland offers more than isolated bird portraits: branches, reflections and open water can all be part of the photograph.
Water management matters here. UNESCO identifies the park’s dependence on an external water supply, so photographs from a previous year cannot establish how a particular wetland block will look during your visit. Ask about current water and access conditions rather than treating an old image as a promise.
The Rajasthan Forest Department’s park page identifies October to February as the period for arriving migratory birds. That makes late November a sensible planning window, but neither that season nor a species list guarantees a sighting on a particular morning.
1. Choose your winter dates around conditions
For Bharatpur bird photography, choose dates around the experience you can realistically manage. In November, plan for the developing winter season and ask what has recently been seen. In December and January, allow for cold starts and possible fog. In February, keep checking local conditions rather than assuming every winter visitor will still be present.
A slightly later start in usable light can be more productive than spending a long time trying to focus through dense fog. If your dates are flexible, reserve more than one session. A second morning lets you act on what you learnt about your camera, the light and the permitted routes on the first.
Do not build a trip around a historical reference to Siberian cranes. Older descriptions of Keoladeo can refer to past records and former wintering populations. For any uncommon species, seek recent, dated records and a local assessment. “Recorded at the park” and “likely on your visit” are different claims.
2. Check fog, pollution and travel visibility
North Indian winter travel needs a visibility check as well as a weather forecast. Fog can obscure a subject and delay road or rail journeys. Haze can reduce distant detail even when the sky looks bright. Neither problem can be solved simply by fitting a longer lens.
Check the India Meteorological Department for relevant forecasts and warnings, and the CPCB air-quality dashboard for available monitoring information. A reading at a nearby station is not a measurement of the air beside every path in the park. Use it as context and follow public-health advice appropriate to your circumstances.
If you are travelling from Delhi, do not assume the air will be clear merely because Bharatpur is outside the city. PicknStory’s Delhi pollution guide explains the broader issue; your trip decision still needs current local information. Avoid a risky pre-dawn drive in poor visibility just to reach the gate early.
Once inside, test a nearby subject before spending time on a distant one. If close branches look crisp but a faraway bird has little contrast, atmospheric conditions may be the limit. Work on closer subjects, shapes or habitat scenes, and postpone detailed flight work if you cannot see well enough.
3. Confirm entry fees and the full cost of your visit
The Forest Department’s 2026–28 entry-fee order, signed on 30 March 2026, lists the Keoladeo category at ₹165 for an Indian visitor, ₹1,010 for a non-Indian visitor and ₹65 for an Indian student, per person per visit, including the stated eco-development surcharge. Confirm the category and payable amount for your visit before paying.
An entry ticket is not an all-inclusive photography outing. Budget separately for a registered rickshaw or other permitted transport, a guide where hired, accommodation, meals and travel. Ask specifically about any camera, video or professional-filming permissions and charges. Do not assume a wildlife-film fee applies to ordinary still photographs, or that every camera use is covered by the entry ticket.
Start with the Forest Department website and its official booking links. Its older park-information page contains a different tariff, so use the current notification and confirm arrangements with park staff. Avoid paying a third party because a search advertisement appears above the official result.
The park information describes access from sunrise to sunset. Confirm the day’s entry and exit arrangements locally rather than using one fixed opening time throughout winter. Have identification, a saved booking or payment record where applicable, and a way to pay incidental charges. None of the information here is a booking confirmation.
4. Choose between walking, cycling and a rickshaw
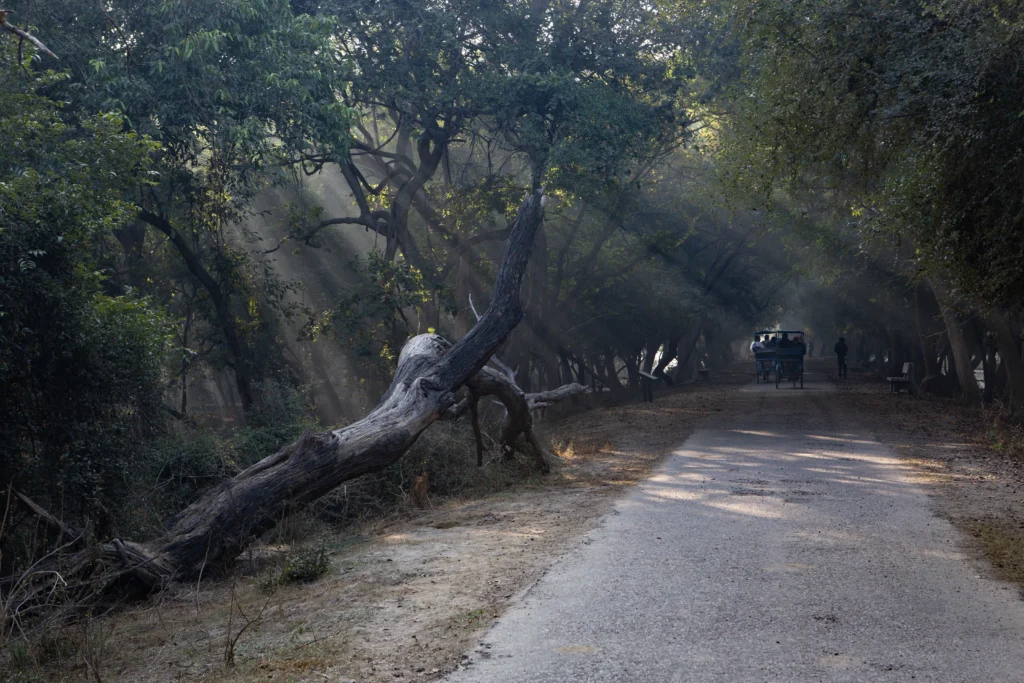
The Forest Department lists walking, registered cycles and cycle rickshaws among the ways visitors can move inside, alongside services operated by the park administration. Availability and permitted access should be checked on the day. Do not plan to drive your private vehicle through the park on the assumption that an entry fee allows it.
Walking suits a light kit and a photographer who wants to pause repeatedly. A cycle can help with distance, but you must still stop safely and manage the camera. A registered cycle rickshaw can be useful for carrying equipment or reducing the amount of walking; agree the charge, duration and waiting arrangements before starting.
For your first Bharatpur bird photography outing, local knowledge can be worth more than another lens. Ask a registered guide or knowledgeable rickshaw operator about accessible water, recent observations and light direction. Agree whether you want a slow photographic session or a broader birdwatching round. Identification help and a guaranteed sighting are not the same service.
5. Pack a manageable Bharatpur bird photography kit
Use the equipment you can carry and operate for several hours. A familiar camera with a telephoto zoom is a sensible starting point. Around 300–400mm full-frame-equivalent reach can be useful for many situations, while longer lenses help with smaller or more distant subjects. These are practical planning ranges, not a requirement or a reason to approach wildlife more closely.
A 70–200mm lens can still make habitat pictures, groups, silhouettes and larger birds when the distance works. A bridge camera offers reach in one package. With a phone, concentrate on landscapes and birds that are naturally close enough for a clear image. Heavy digital zoom cannot recover feather detail that was never captured.
Bring a charged spare battery, enough card space, a lens cloth, drinking water, layered clothing and comfortable footwear. Keep the bag simple enough that changing a setting does not require unpacking everything on a narrow path. A monopod or tripod may help with weight or a stationary composition where permitted, but should not obstruct other visitors.
Practise finding a subject through the viewfinder before travelling. At long focal lengths, a bird visible to the naked eye can be surprisingly hard to locate. Start with a wider view, centre the subject, then zoom in. Learning that movement at home saves time when the bird begins to move.
6. Set up your camera for Bharatpur bird photography
Use these as starting points, then inspect a test image. Bird movement, distance, focal length and the available light change the answer. Nikon’s flight-photography guidance explains the value of fast shutter speeds and tracking a moving subject; there is no single setting that works for every bird.
A resting or slowly moving bird
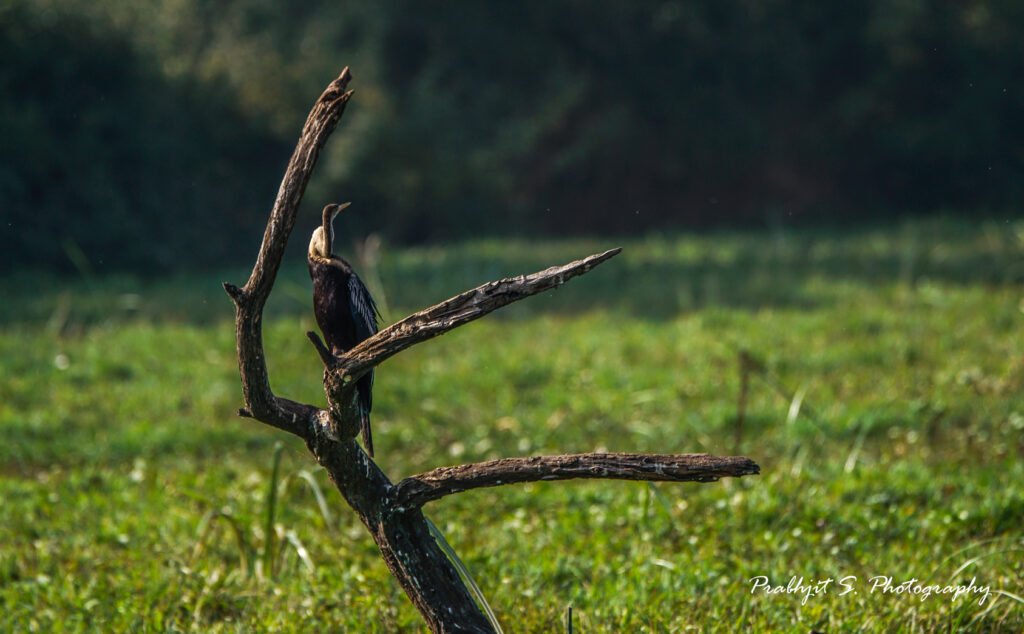
Try 1/500 second with continuous autofocus if the bird is shifting position, and use an aperture that gives enough depth of field for the head. Auto ISO can keep exposure manageable as the light changes. With a genuinely still subject and good support, a slower shutter may work; check sharpness rather than assuming stabilisation prevents every kind of blur.
A bird taking off or flying
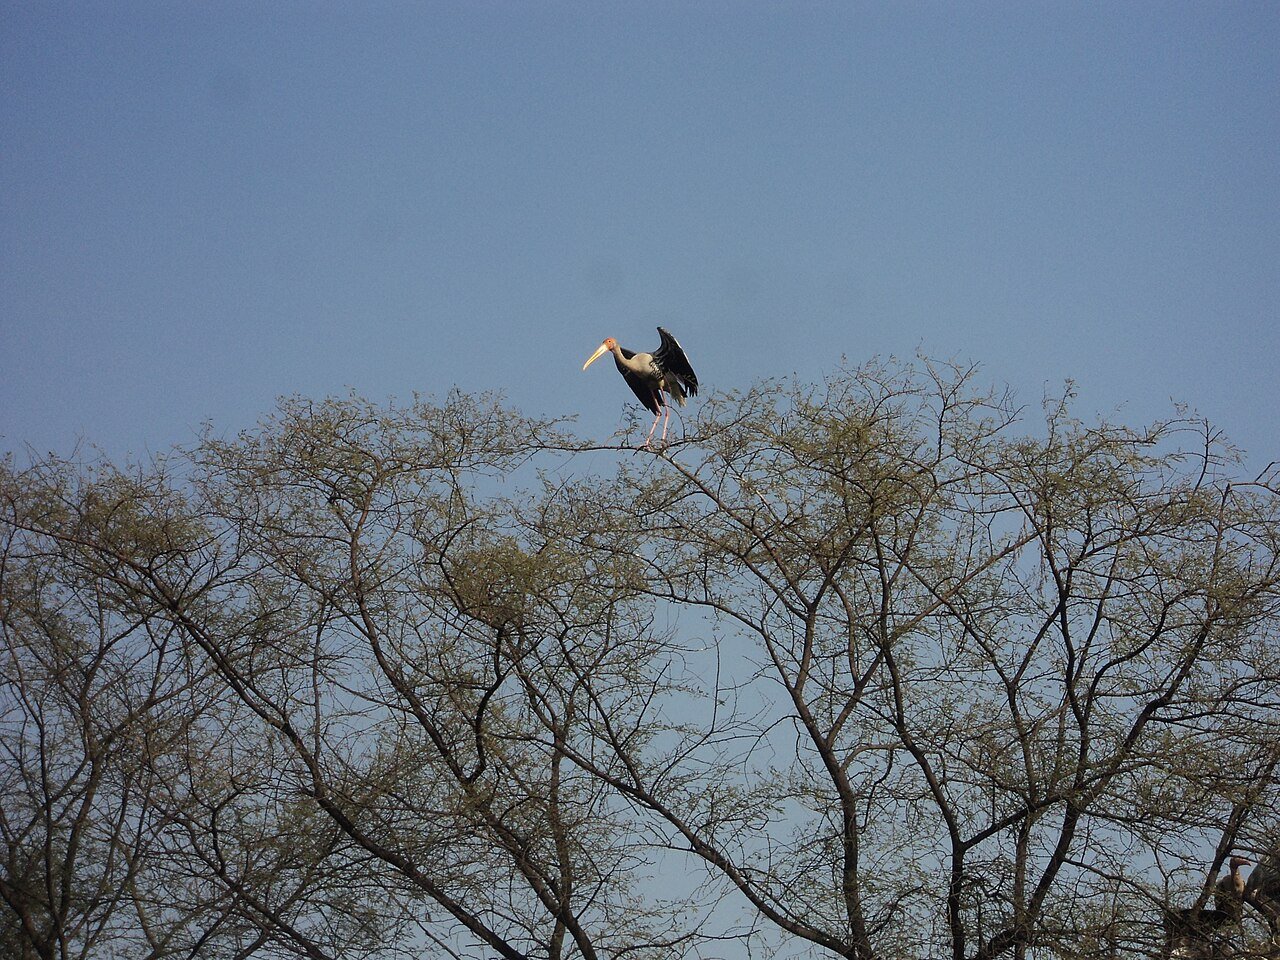
Begin around 1/1600–1/2500 second in sufficient light, use continuous autofocus and a short burst. Faster wingbeats may require a faster exposure. Follow the bird smoothly and leave space in its direction of travel. If the camera has bird-detection autofocus, test it, but keep a familiar focus-area option ready if it locks onto branches instead.
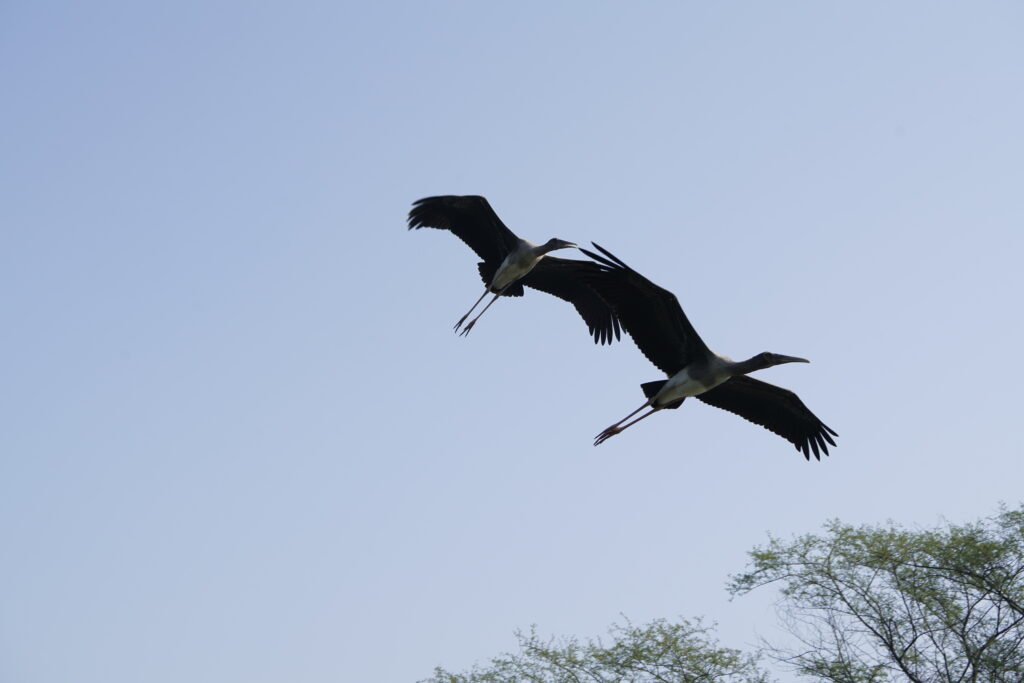
White plumage, reflections and backlight
Check the highlight warning or histogram, particularly when a white bird stands against dark water. Adjust exposure to retain the detail you want. Do not apply one fixed exposure-compensation value to every scene: the same bird against bright sky and dark foliage can need different decisions.
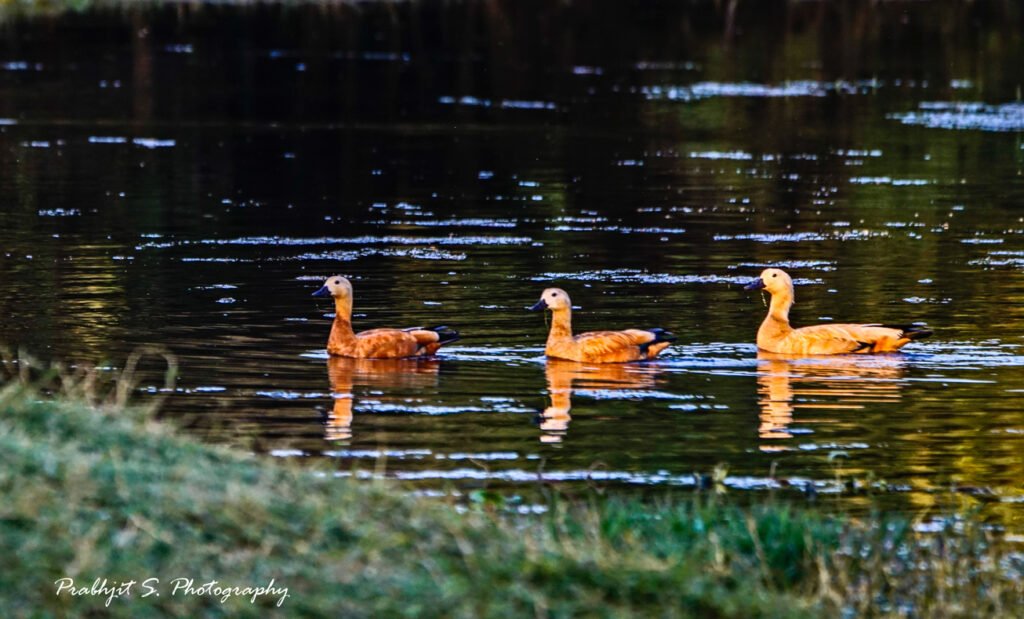
For a silhouette, expose for the brighter background and look for a clear outline. For a reflection, check where the waterline falls and whether the reflected shape fits inside the frame. These are different photographic intentions; deciding which you want is more useful than trying to make every part of the scene equally bright.
A first-morning Bharatpur bird photography plan
Before entry, confirm the exit time, current route advice and how you will return. Check battery, card space and the camera’s exposure settings. If you hired transport or a guide, explain your pace before leaving the entrance area. Keep the first session flexible enough to respond to the conditions.
Start with one accessible habitat scene. Include water, trees or a path context so the resulting set describes the place. Then choose a bird behaving naturally within a comfortable viewing distance. Watch before shooting: head turns, feeding movements and a change of background can improve a picture without moving closer.
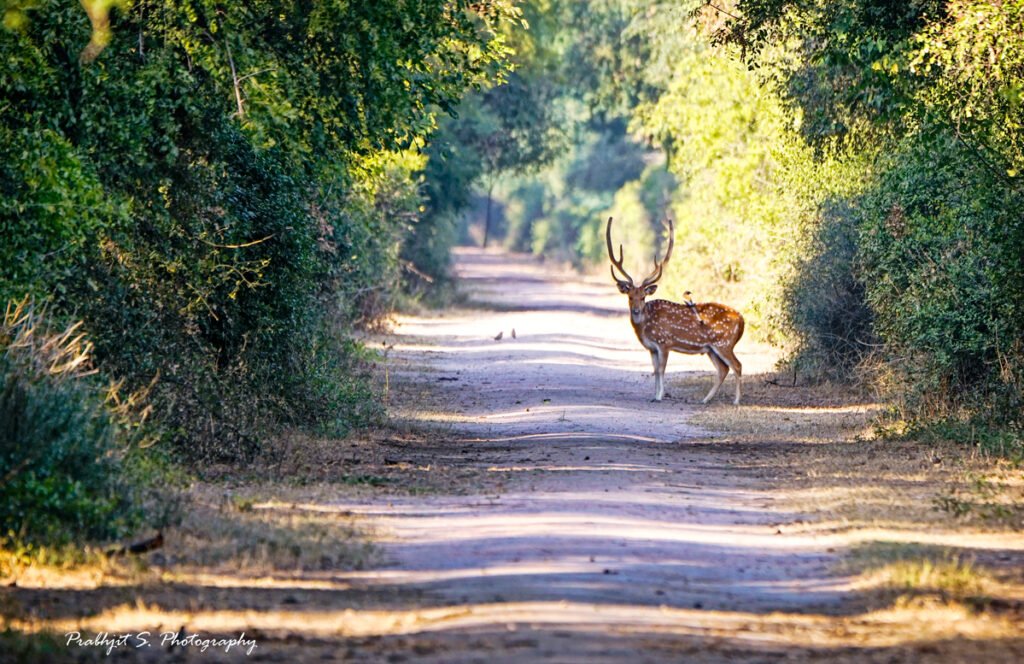
Once you have a usable frame, change one thing. Try a different orientation, include more habitat, or wait for the bird to face the light. Repeatedly checking settings, repositioning and firing long bursts can make it harder to notice behaviour. A few deliberate variations are easier to assess later.
When the light becomes stronger or the area busier, review what is working. You might move to a different permitted viewpoint, make wider pictures or pause to observe through binoculars. Allow enough time to return without rushing. Leave a margin for conversation, slow walking and any local restrictions.
Three compositions beyond the close-up
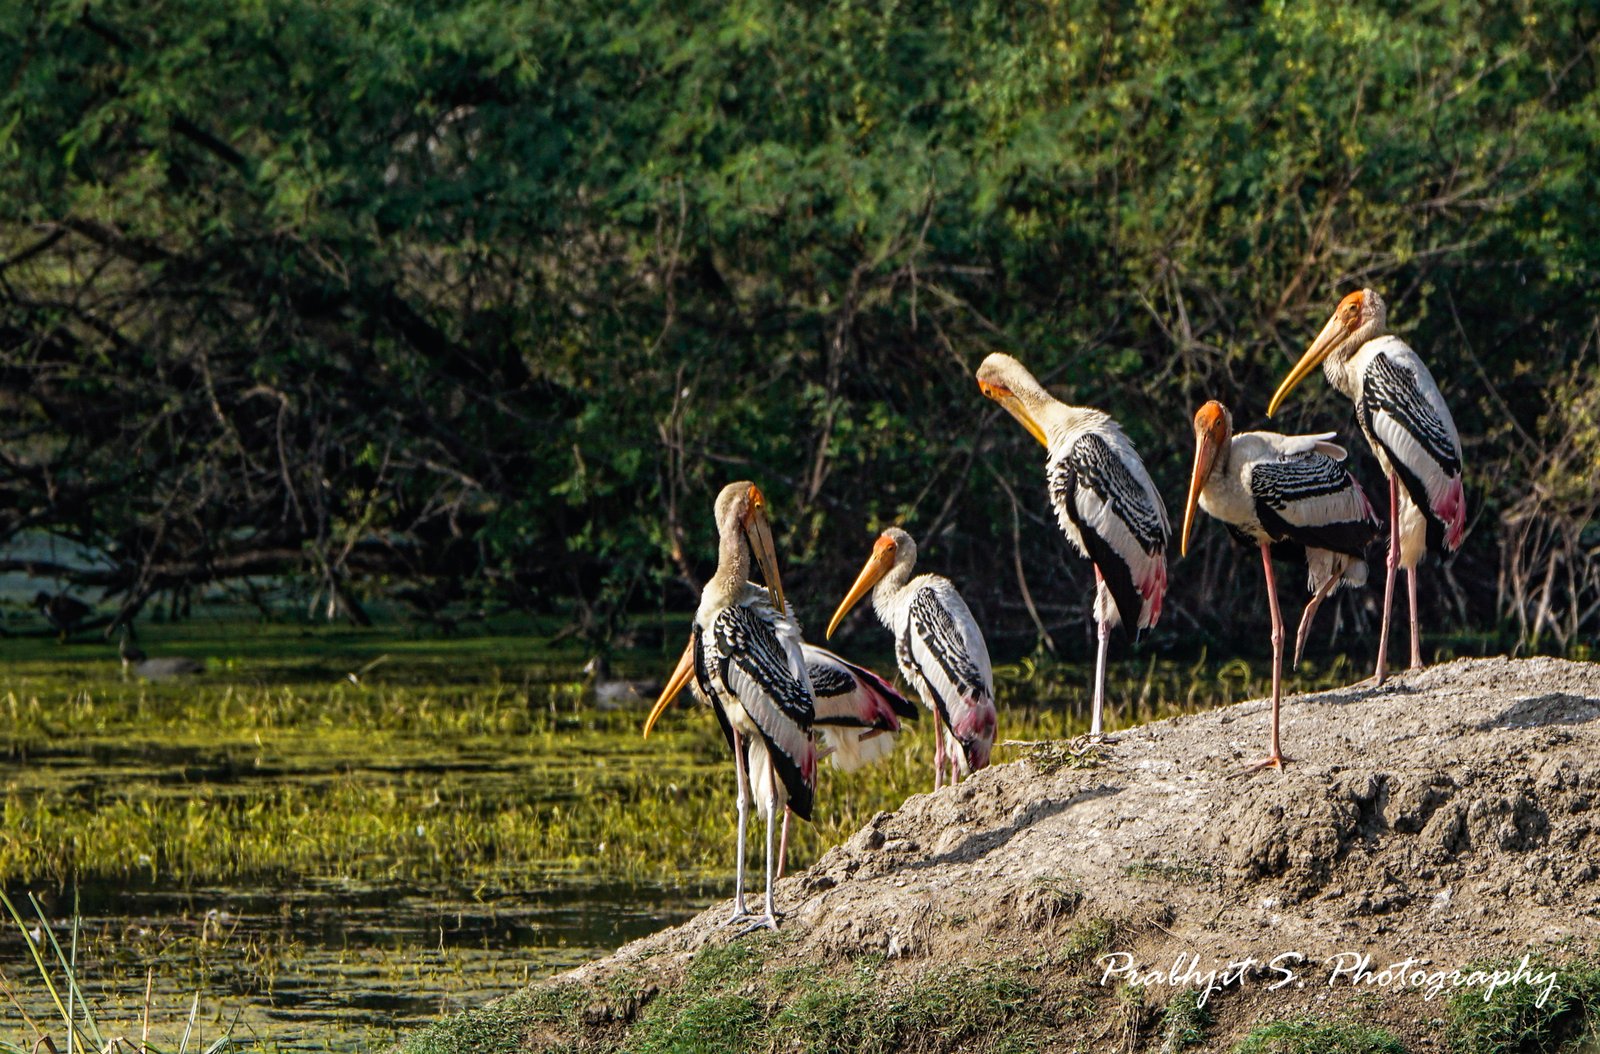
An environmental portrait gives the bird room in the frame and shows the wetland around it. It works particularly well when your lens is shorter than you expected to need. Look for a clean relationship between the subject, a branch or patch of water, and the background.
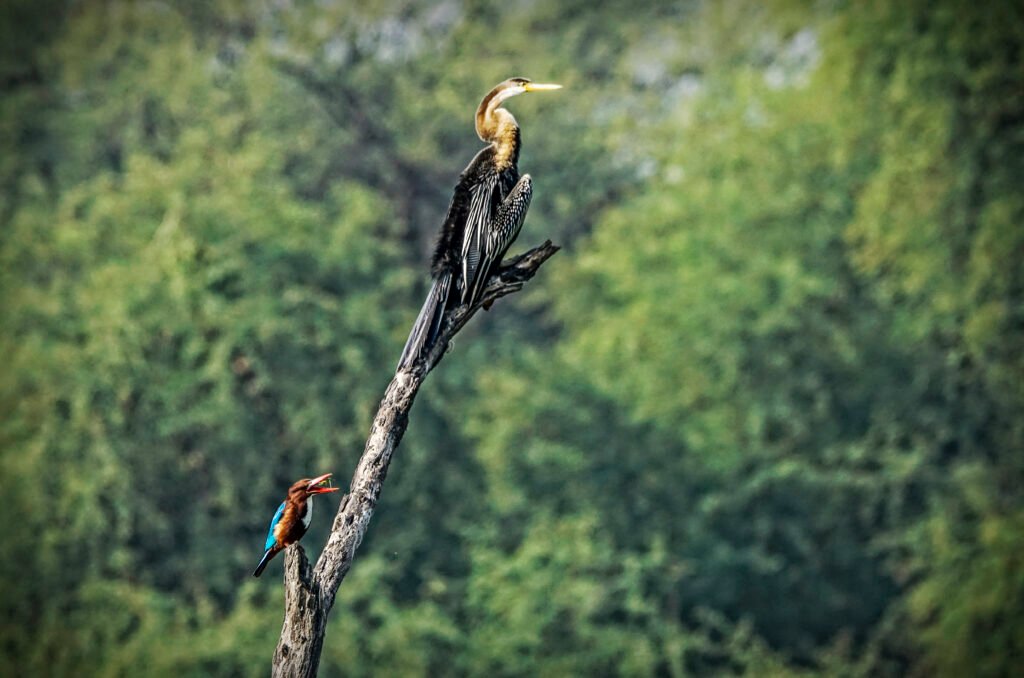
A behaviour picture records an action: feeding, stretching or interacting. Wait for the action to become legible rather than pressing the shutter continuously. An ordinary bird doing something clearly can make a stronger photograph than an uncommon bird hidden behind twigs.
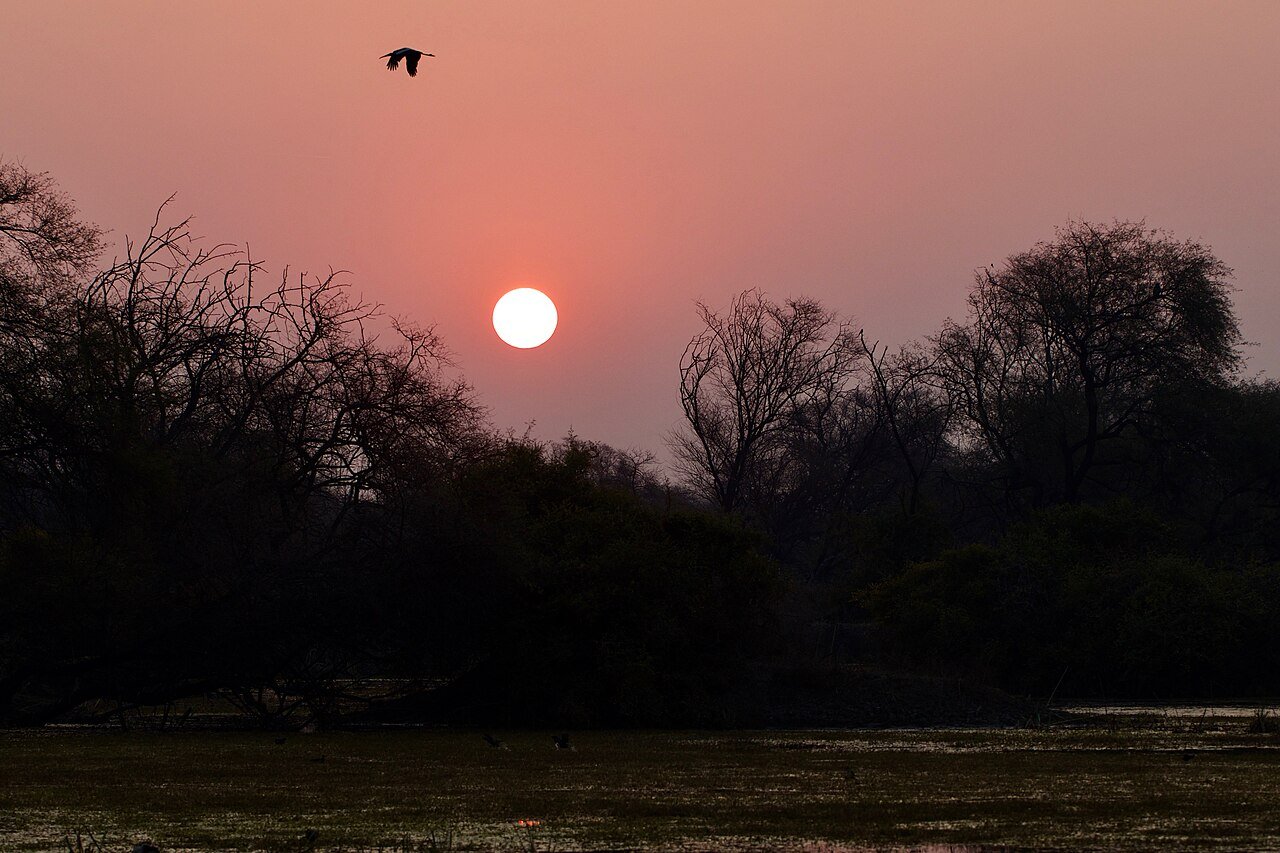
A silhouette uses shape rather than feather detail. Separate the bird’s outline from vegetation, and keep the brightest background from swallowing the subject. Late light can help, but you must still respect the park’s exit arrangements. Do not stay beyond permitted hours for a sunset photograph.
7. Put bird welfare before the photograph
For Bharatpur bird photography, distance is a tool for reducing disturbance as well as framing a picture. Audubon’s ethical photography guidance advises keeping birds’ welfare ahead of the image. If a bird changes its behaviour because of your approach, back away rather than waiting for a dramatic reaction.
Do not use food, recorded calls or deliberate movement to make a bird approach or take flight. Avoid nest-focused close approaches, keep to permitted routes and leave vegetation as you found it. A longer lens does not give permission to block a bird’s access to its nest or feeding area.
Leave drones and flash-based wildlife experiments out of a beginner visit. Follow park staff’s instructions and any restrictions on equipment. Audubon’s guidance is a useful ethical reference, not a substitute for Indian law or site-specific rules. Do not publish precise locations of sensitive nests or roosts.
Be considerate of the people sharing the path. Keep tripods clear, speak quietly and avoid surrounding a subject with a group. Our responsible tourism guide looks at the wider choices behind a trip, including respect for local livelihoods and the places visitors come to see.
Editing and labelling your photographs honestly
Back up the files before deleting large batches. Compare a sequence at a useful magnification and look first at the eye, movement blur and distracting overlaps. Keep a habitat frame even if it is less immediately striking than the closest portrait: it helps explain where the bird was.
Crop and adjust tone with a clear purpose, but do not use aggressive sharpening to disguise a badly blurred frame. If you add, remove or generate scene content, disclose it when sharing the result. A photograph presented as a wildlife record should not quietly acquire extra birds, a different sky or a reconstructed background.
Record the date, broad location and species identification where reliable. If you are unsure, use a cautious caption until the identification is checked. For this guide, the photographs retain their named creators and original dates; they illustrate photographic possibilities without claiming that the same scene is present this week.
FAQs about Bharatpur bird photography
Is one day enough for a first visit?
One day can be useful if you arrive rested and keep your plans modest. Two separate sessions give more room for variable visibility, learning the layout and correcting camera mistakes. Neither arrangement guarantees a particular bird or photograph.
Do I need a 600mm lens?
No. Longer reach can help, but it brings weight, a narrower field of view and more difficulty finding a moving subject. Choose suitable subjects for the equipment you already have. Hire a lens only if you have time to practise with it and understand the total rental terms.
Can I make worthwhile photographs with a phone?
Yes, particularly habitat scenes, reflections and naturally close subjects. Avoid walking towards a bird simply to overcome a phone’s limited reach. A phone photograph that shows the wetland clearly is more useful than a heavily enlarged, indistinct bird.
Should I visit when fog is forecast?
Check the severity, transport conditions and local advice before deciding. Light mist can suit some compositions; dense fog can prevent useful photography and make travel unsafe. Do not treat a weather warning as a photographic opportunity that must be pursued.
Where should I go next?
If this visit helps you work out what you enjoy photographing, PicknStory’s India photography-destination guide offers broader trip ideas. Choose the next place around the subject and season you want to understand, rather than the length of a destination list.